Getting Started with Trezor.io/start (Version 22.9.3)
Welcome to the official guide on setting up your Trezor hardware wallet. The Trezor.io/start (Version 22.9.3) process is simple and ensures that your digital assets are secured. Follow these steps to initiate your Trezor wallet:
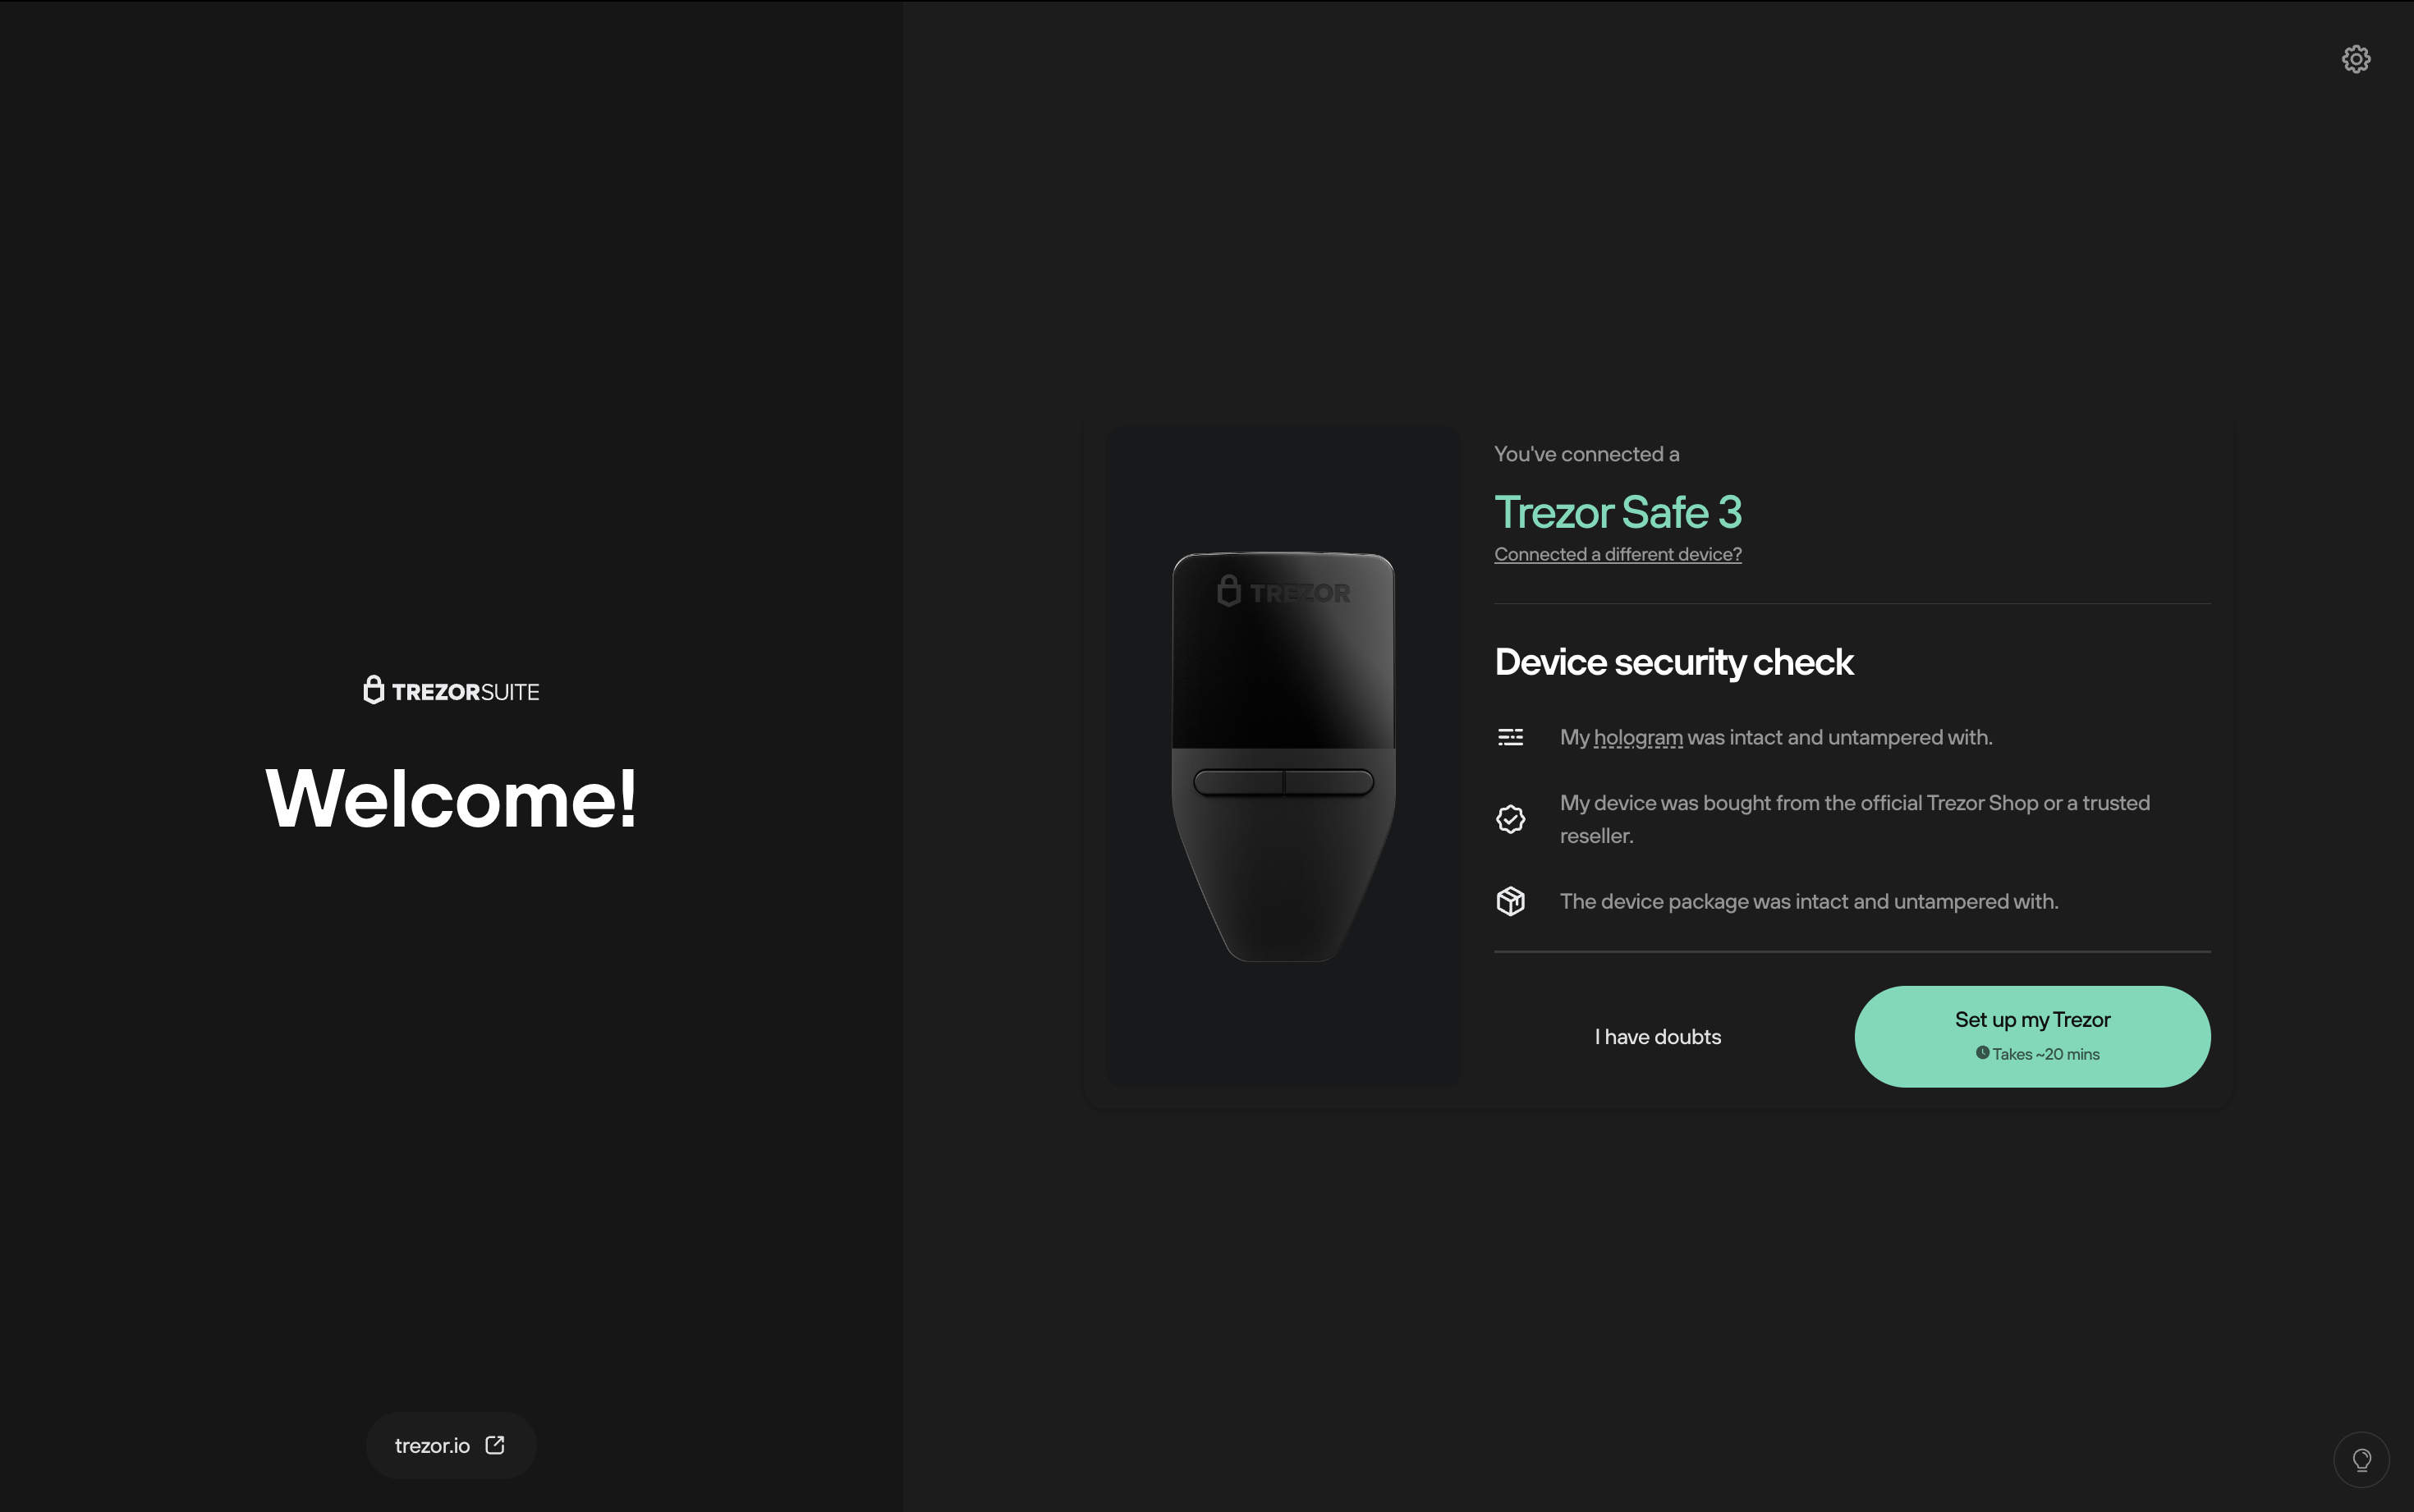
Step 1: Connect Your Trezor Device
Start by connecting your Trezor hardware wallet to your computer. Visit Trezor.io/start to access the Trezor Wallet Suite (Version 22.9.3) and follow the instructions.
Step 2: Install Trezor Bridge
For seamless connectivity, install Trezor Bridge from Trezor.io/start. This software allows your device to communicate with the Trezor Wallet Suite (Version 22.9.3) efficiently.
Step 3: Initialize Your Trezor
Once connected, initialize your Trezor by creating a new wallet. Follow the on-screen instructions on Trezor.io/start to secure your wallet with a recovery seed.